Smooth-On
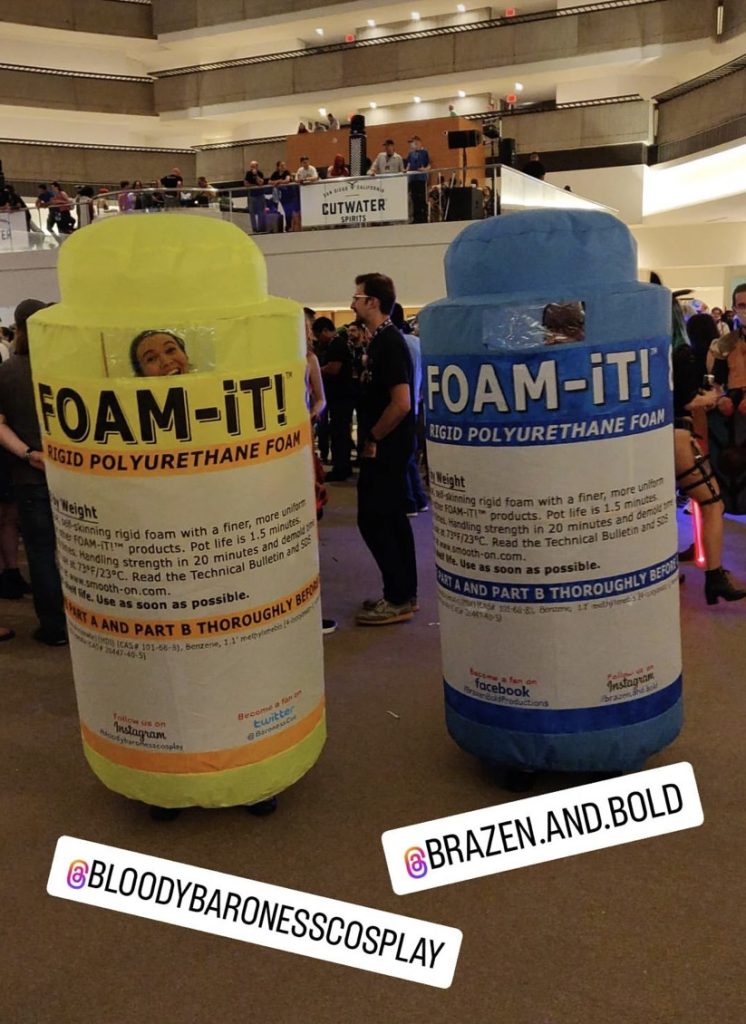
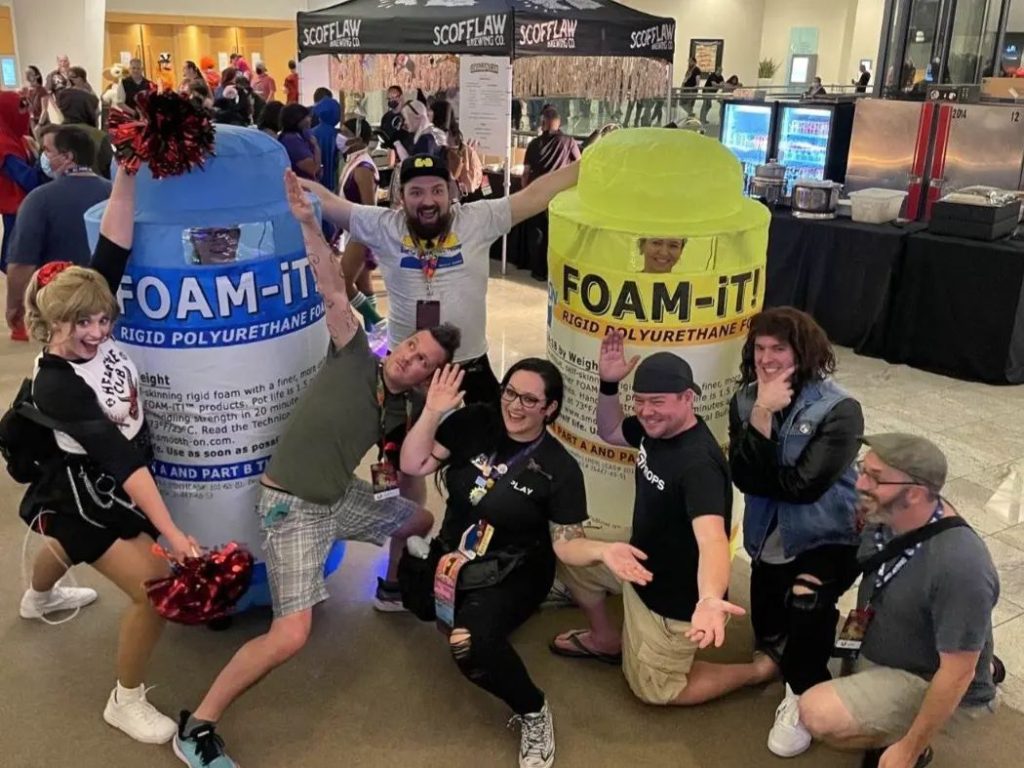
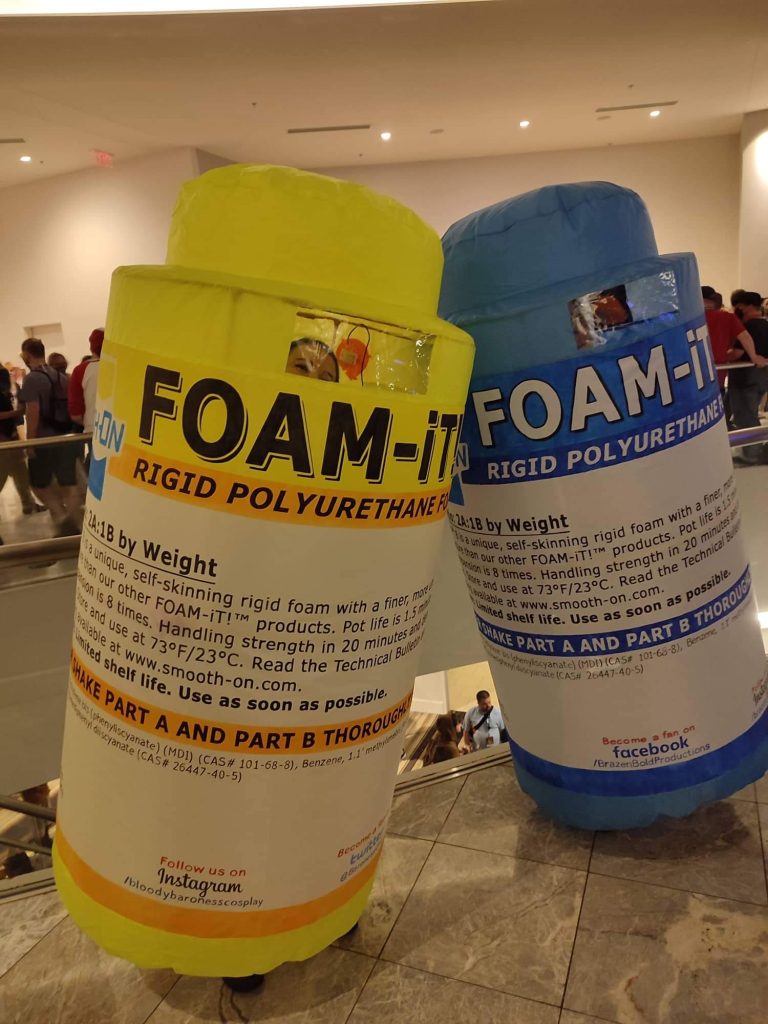
Smooth-On’s FOAM-iT!™ Series are two-component water blown rigid foams that are versatile and easy to use.


Photographers: Din.Viesel, Madness Creations, Brazen & Bold Productions
I can’t believe we actually did that…
Okay, so during a BBPropShow, Brazen & Bold Productions’ stream, we were joking around about cosplay duo ideas and somehow, I cannot remember for the life of me, we came up with Smooth-On products! Jojo and Mattia from Brazen & Bold Productions use them a lot, so do countless other prop makers, and since they’re two components this would make a perfect fit for a part A and part B cosplay duo. This has then long been just an idea floating around in our heads until Dragon Con 2022 was about to come around and I said “Okay, do we actually wanna do this?” – and we did.
Overall data
Work time: 200 hours (for almost both costumes)
Materials used: ripstop nylon, transparent PVC foil, Worbla, wooden sticks, Velcro, mini fan blower for inflatable costumes, acrylic paint, fabric pens
Making Of
I did almost two costumes in 4 weeks with, again, help from Tsuya, who helped me out for a day. Which doesn’t sound much but you’ll have to understand Tsuya is a master steamstress and is just so amazingly fast in everything sewing related. Jojo, who wears part B, had absolutely no time for our nonsense since she and Matt were actually doing serious work for Gamescom, which is sadly always like a week before Dragon Con.
The making of this costume was another amazing demonstration of how hard it is to get anything done in the hobby crafting field in Central Europe. I had bought the ripstop nylon I needed (it needed to be light cause we only have these mini fans for inflatable costumes) and was looking into getting it printed. I had redesigned the labels of the bottles and made them a bit simpler, no color gradients for example. I also took the liberty to add a few funsies. Some of the numbers are references. The socials on the bottom of the labels got changed to name our socials and the bar code can actually be scanned and translated. So I googled print shops and asked so many of them. Problem was, the ones that let my bring my own fabric couldn’t print at the size we would have needed it, and the big company print shops, who do like billboard printing, can’t take fabric from customers cause their industrial printers print from big barrels. Problem number one, most of them won’t answer; problem number two, the ones who answer only do B2B and problem number 3, if you find one who answers and actually is willing to do business with you as a private customer, they’ll of course won’t have the fabric you need. Their fabric for inflatables is many times heavier, probably because if they manufacture something inflatable it’s for stationary displays, which have huge fans with enough power to support the weight. At one point I had to make a decision: Keep searching with very little hope and waste more time, or start painting the labels myself. I chose the latter.
Note: This is a huge problem in many different fields of crafting here in Central Europe. It’s just impossible to get what you need. I’ve tried to get things locally so many times, but I either can’t get what I need or it’s such a hassle that it’s just easier to import stuff :/
I made stencils for the labels. The big color columns I just masked with tape but for all the writing I cut out stencils from paper. By hand. I didn’t have a plotter. I ended up having numb fingertips for weeks as well as finger so swollen I was unable to bend them. The pressure I needed to cut out all these letters with an scalpel was just too much for the amount of time I did that.
The pattern for the actual bottle was very simple, just a very long rectangle with a window in the middle, where the label is sewed in. Where the rectangle is sewn together to creative a barrel a Velcro is installed. This is where we get in and out of the costume. To give us good mobility the bottom part is a ring of fabric with kind of upside-down-pants which close off just underneath our knees with an elastic. For visibility we cut out a small window on top of the label and glued in a transparent PVC foil using double-sided sticky tape.
Then what’s left is the problem of stability. Number one, the bottle is just inflated fabric, what’s stopping the shape from bloating? And number two, how to keep the bottle upright around our bodies? We needed a frame with suspenders. Also, since we’re bringing this on a flight it had to be collapsible. For one costume I needed two hoops which I would connect to each other with 4 rods. The hoop had to have a diameter of 60 cm cause that’s the diameter of our bottles. I thought to myself, “easy, just buy a hula hoop!” – NOPE, not easy at all. I could not find one with 60 cm diameter. But I still had an entire XXL sheet of Worbla’s Finest Art lying around for years now so I made the hoop myself (I made 4 hoops myself…). I also made the plug-in element for the wooden rods with Worbla. I wrapped the end of the rod in cling-wrap and then molded the Worbla around it. Once the Worbla was completely cooled off, I was able to easily pull out the rod and then the cling wrap. I did the same with the hoop itself since I need to be able to pull those apart in two halves, otherwise they wouldn’t fit into the suitcase. Now all that was left was use nylon straps as suspenders and very professionally safety-pin them around the lower hoop in our desired length. Pop in the fans to a circle we had cut out and strengthened with PVC foil and we were ready to hit AL at the Marriott in Atlanta!
If you are interested in the creative process feel free to take a look at my work in progress picture posts on Instagram >here< and >here<.

You must be logged in to post a comment.