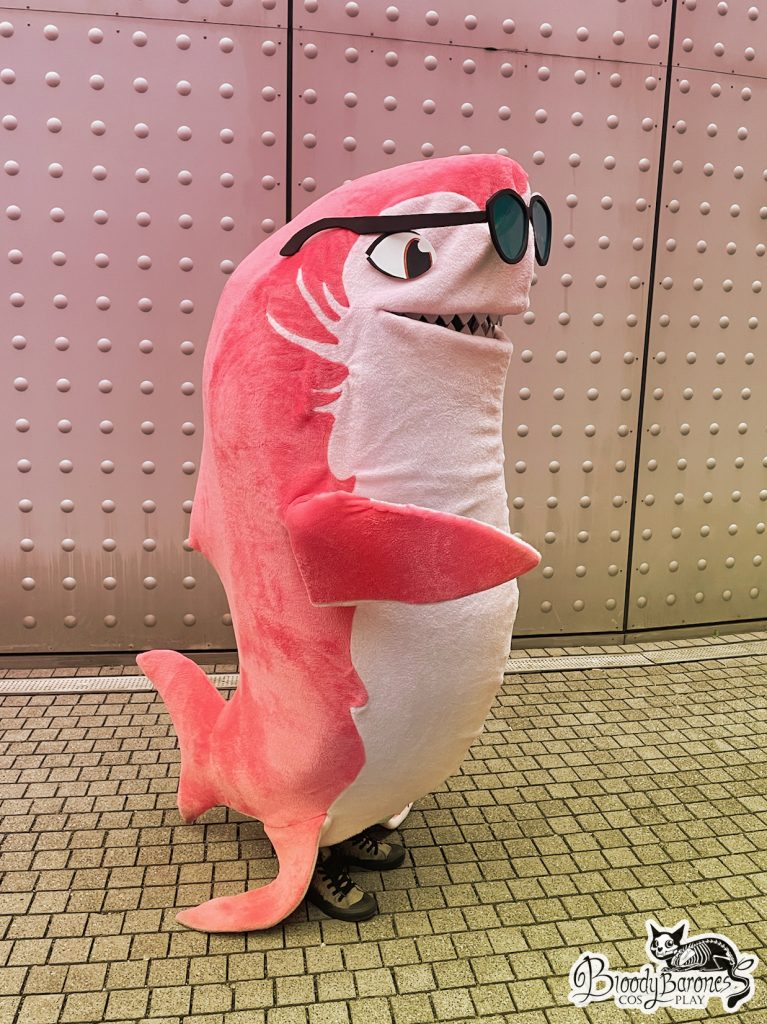
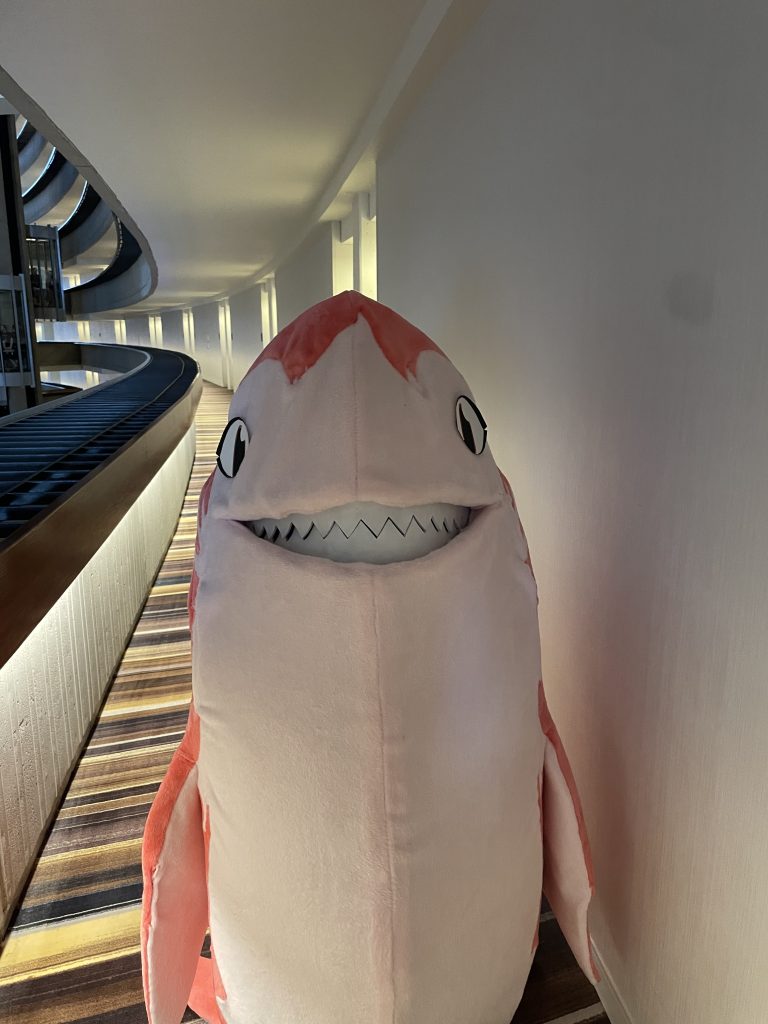
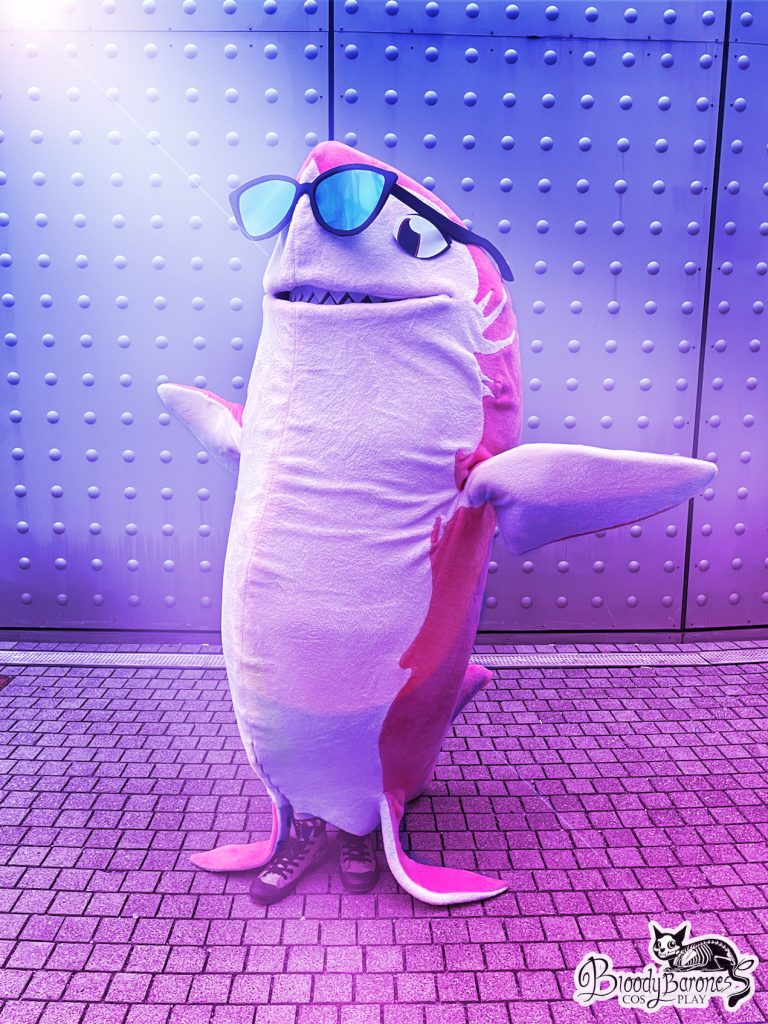
Nimona (Netflix)
But I’m not a girl. I’m a shark!


Photographer: Madness Creations
I love Nimona! The movie gave me serious brainrot for a few days, so cosplay plans were inevitable. It was only after I saw a comic with Ballister joining Nimona in a shark onesie that I was like “shark costume!”. And then we decided to go to Dragon Con on “short notice” (I feel like 6 week is short notice when it comes to panning a con on a different continent). Shark Nimona seemed like a perfect costume for this con. I knew I didn’t want just a onesie though, so at first I started looking into Left Shark costumes to see how they were structured. In the end, this too was not accurate enough for my liking and this is how I got into large costume fabrication.
Overall data
Work time: 250 hours
Materials used: upholstery foam 35 kg/m³ – 3 cm thickness, EVA Foam, minky fabric, Worbla, Velcro, zip, tinted plastic sheets, magnets
Making of
6 weeks was actually more than enough to make this costume, we don’t talk about how I also made a human Nimona costume during this time (which I absolutely would not have been able to finish without Tsuya’s help). But I did not have the slightest idea about building a large costume that’s not an inflatable costume. 3 cm foam thickness was probably overkill and I could have easily done it with 2 cm.
To make the pattern I tried sculpting the shark in Nomad Sculpt on my iPad which failed horribly because I never used this program before. So I took a screenshot of shark Nimona in profile (thank god this movie was bold enough to do so many shots in profile!) which I used as a blueprint. I printed that out and started sculpting on top with monster clay to make a miniature prototype. I covered the sculpt in plastic foil and masking tape to create my pattern. Now I only needed to scan it, scale it up and print it out again. In order to stick the pieces of paper of the huge pattern together correctly, I added a 5 cm square grid pattern across the entire shark for reference.
Cutting everything out and gluing the upholstery foam together was actually the easiest part, but I made a 1:6 model with 5 mm foam anyway, just to be sure that everything would work out. And it did! For the skinning with minky fabric I needed to make a new pattern though because the upholstery construction got slightly bigger because of the thickness of the foam. Therefore I just covered it in newspaper and masking tape. Tracing that pattern onto the fabric, cutting it out and sewing everything together turned out to be the step that took the longest. By the way, the fabric is not attached to the upholstery construction in any way since I needed to be able to fold the costume, so it would fit in a suitcase. I didn’t want to much strain on the fabric and therefore it had to come off for transportation.
Then there were all kinds of small things which combined took forever. For example I cut thin stripes out of the upholstery foam on the “neck” so opening the mouth would be a bit easier. This would cause the shark to lose structure so I glued a thin fabric over said part. I ended up making a kind of rail on the inside with a piece of Worbla that slides through foam loops.
Since this costume needed to fit in a suitcase I had to make the teeth removable. They are attached with Chicago screws.
To keep the costume upright while wearing it I used a hoop and suspenders. I cut a hoop in half and added Worbla to make it re-attachable. The hoop slides through a bunch of foam loops on the inside of the upholstery construction.
The eyes are just a piece of 2 mm foam with thicker foam cut at an angle for the eye lashes. They are attached with Velcro.
The fabric “skin” is also attached to the mouth with Velcro
The glasses I made after Dragon Con, these were the only thing that I didn’t have enough time for, although I did them in a day. The frame is made of 5 mm foam glued together. The tinted plastic sheets are fitted between those two layers of foam. Magnets hold the glasses in place. These are glued to the upholstery construction and in the glasses they’re also hidden in the layers of foam of the frame.
If you are interested in the creative process feel free to take a look at my work in progress picture post on Instagram here and here.

You must be logged in to post a comment.